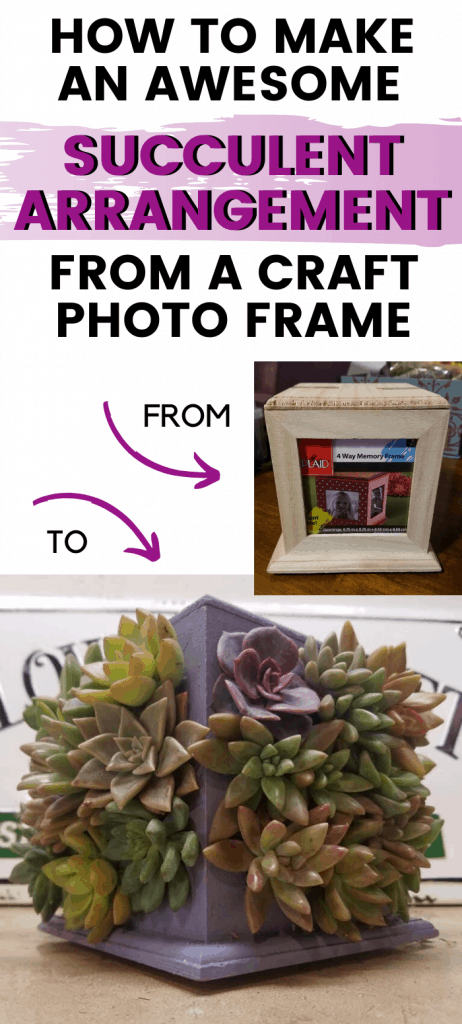
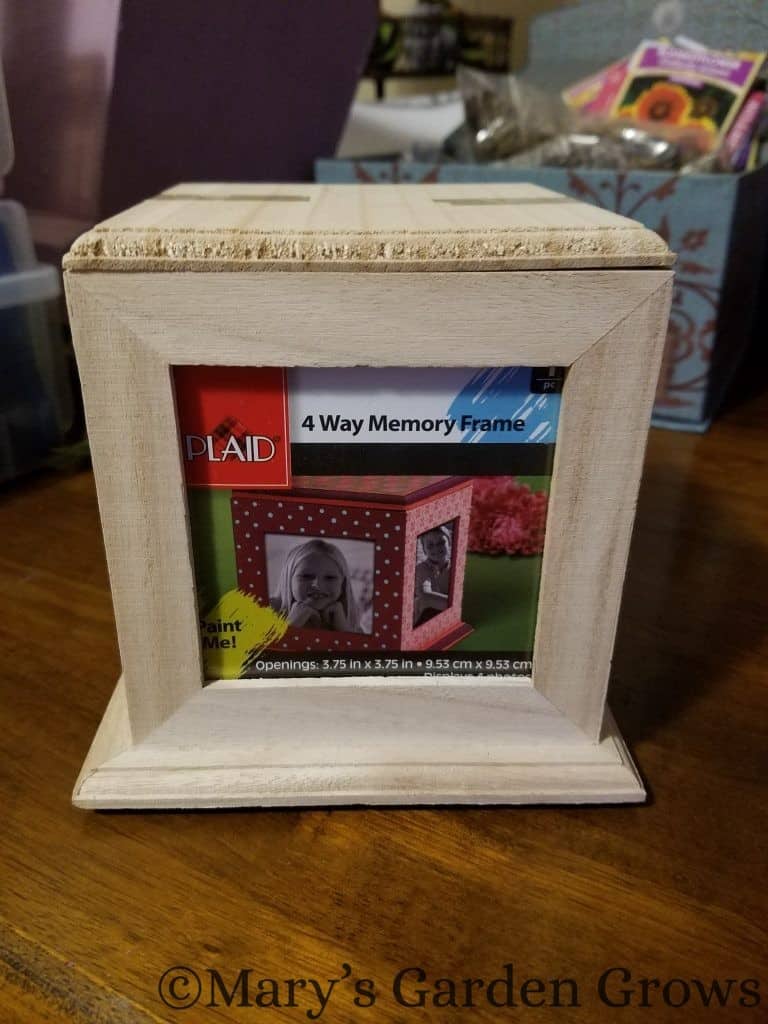
I had so much fun creating this rotating succulent frame! Well…to be honest, everything didn’t go as planned so the process wasn’t all “fun” but the result was just how I envisioned it so it’s all good in the end. I was watching an older Garden Answer video about cutting a heart out of a wooden cigar box from the craft store and making a succulent arrangement with it. (You can find Laura’s video HERE.) I knew I had seen those boxes at Walmart so off I went to find it. Unfortunately, the clasp on the only one in stock was broken so I started looking at the other crafty things nearby. Found this “Plaid 4-Way Memory Frame” and started to get an idea! There were already holes in it so no digging out the jigsaw from the garage…the cover came off so that would make putting in moss and soil pretty easy…and it rotated too! How great would that be for a small succulent arrangement on my desk at work?!
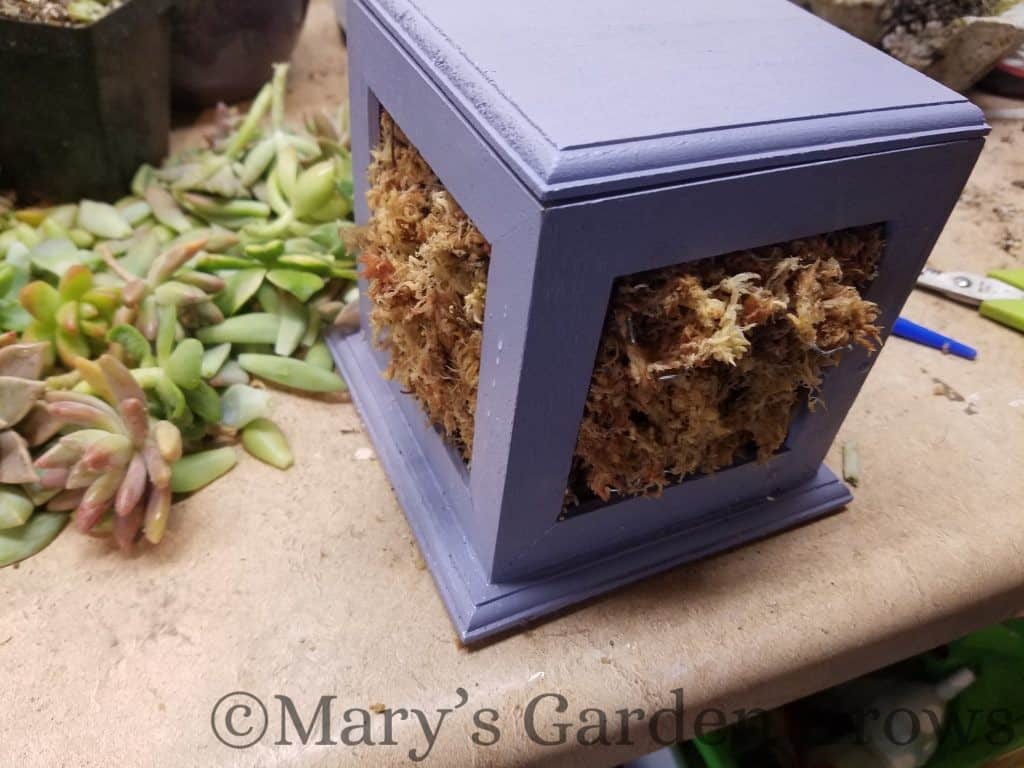
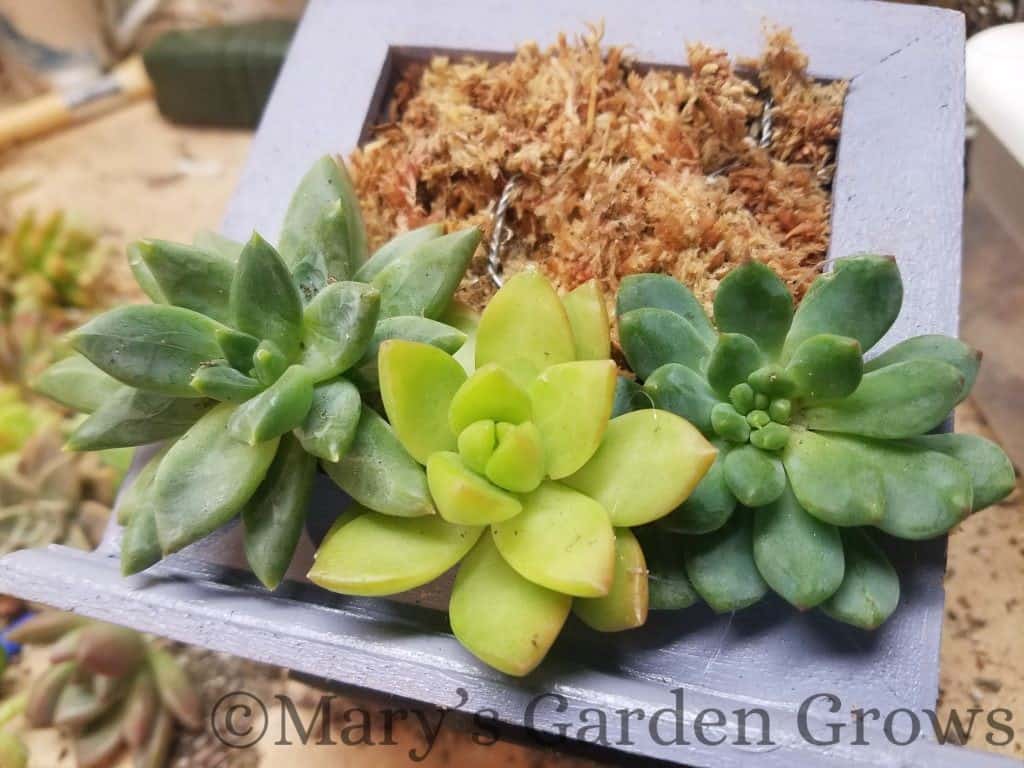
I painted it up with a couple coats of Waverly lavender chalk paint and coated it good inside and out with Krylon Clear Gaze as I had both on hand already. I lined the inside with chicken wire, moss (SuperMoss Orchid Sphagnum Moss), and succulent soil. Now it was time for the fun part of sticking succulents into the moss…or so I thought!
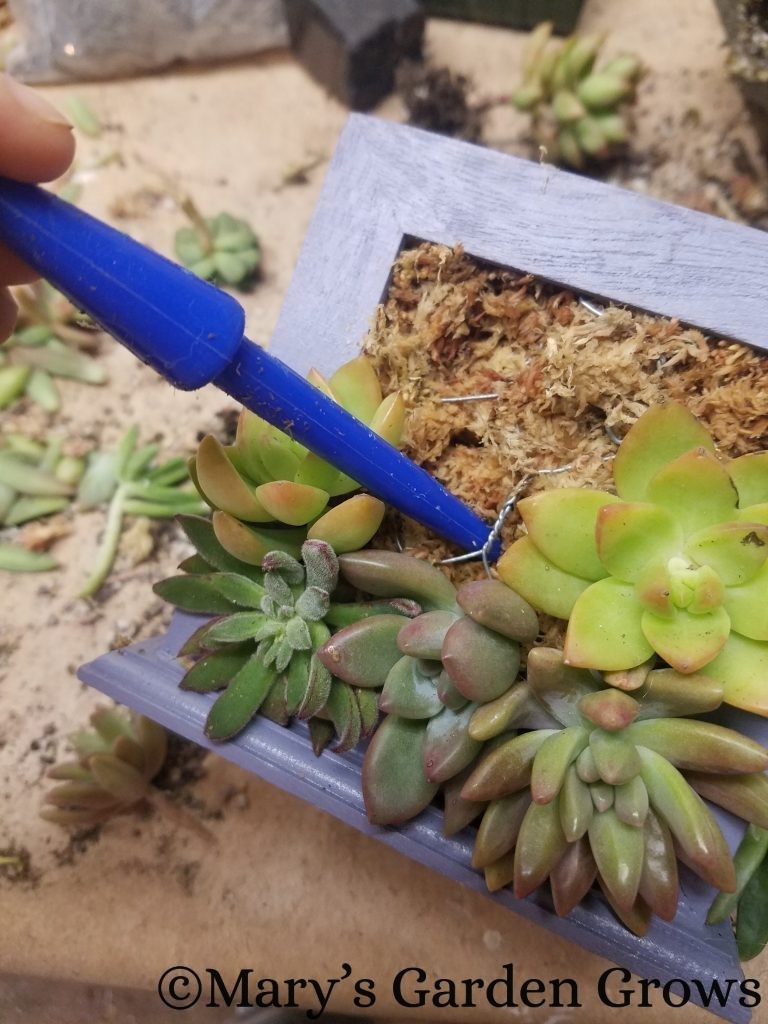
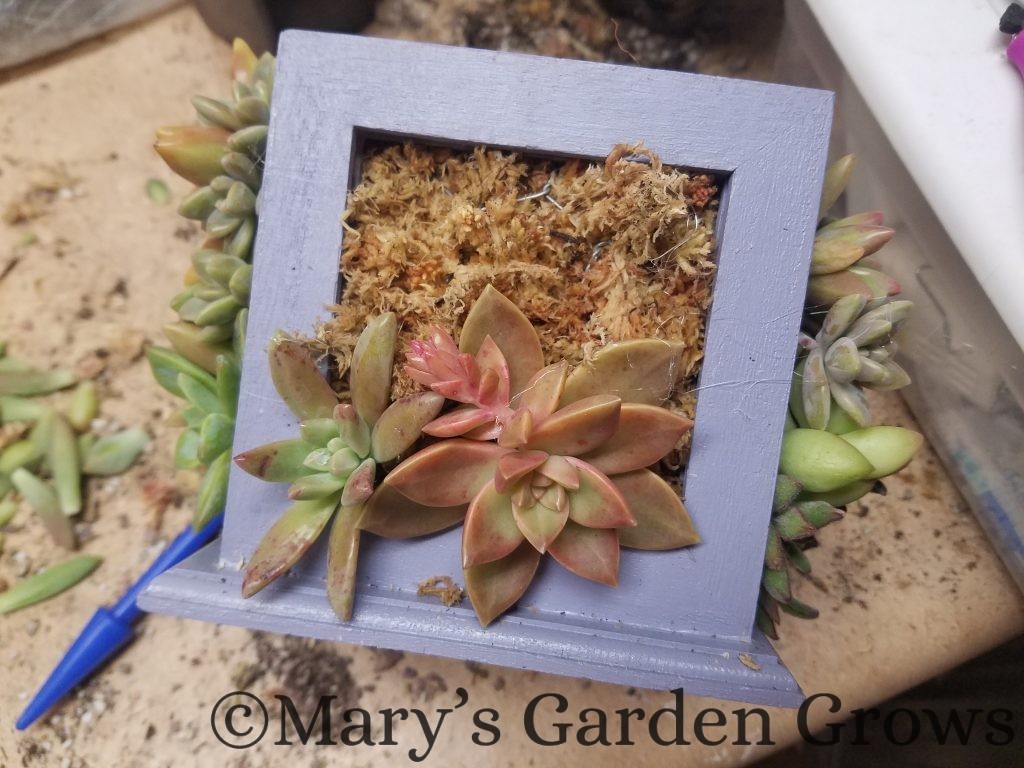
I carefully peeled off the lower leaves of rosettes leaving a nice long stem (which I had let the end callous over for a couple days after cutting) and stuck it in the moss. It would go okay for awhile but because I couldn’t lay the frame flat, they just wouldn’t stay in place. I’d finally get one side just how I wanted it, turn it gently to try and work on another side and pieces were falling out left and right! I even tried using some of these Floral Fern Pins:

So…Laura of Garden Answer says you can use hot glue on succulents. And if Laura says it’s true, it is! If you still don’t believe it, she proves it HERE. So after letting the moss dry for a couple days, I gave it another go with the hot glue gun in hand. This worked great!!
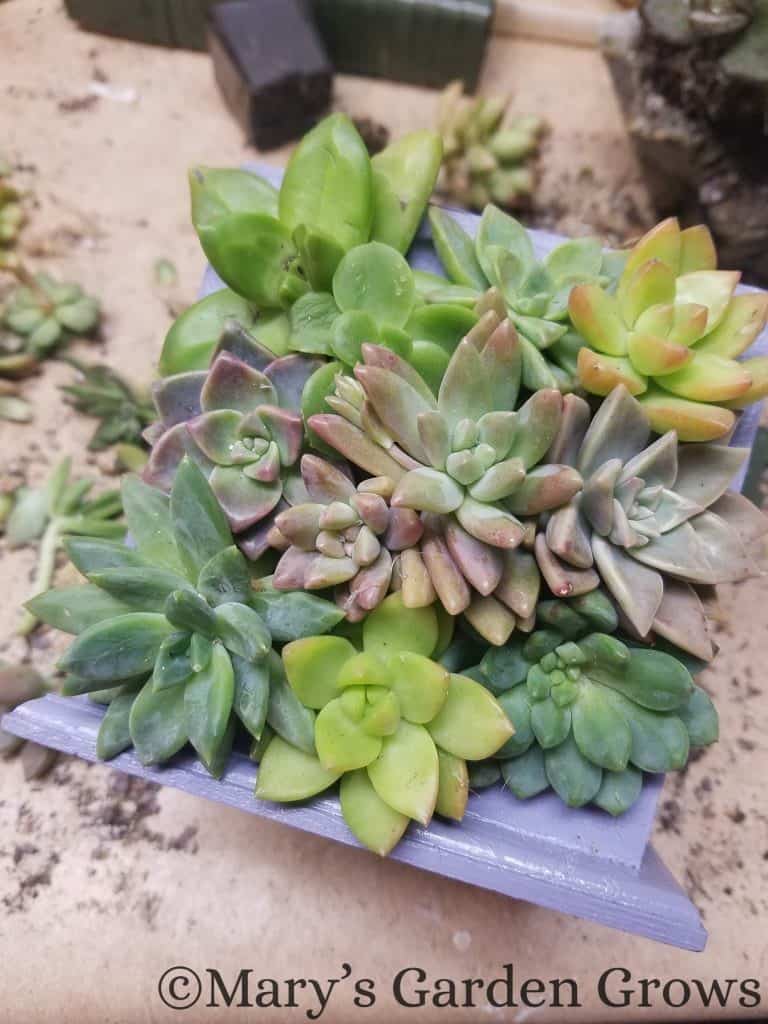
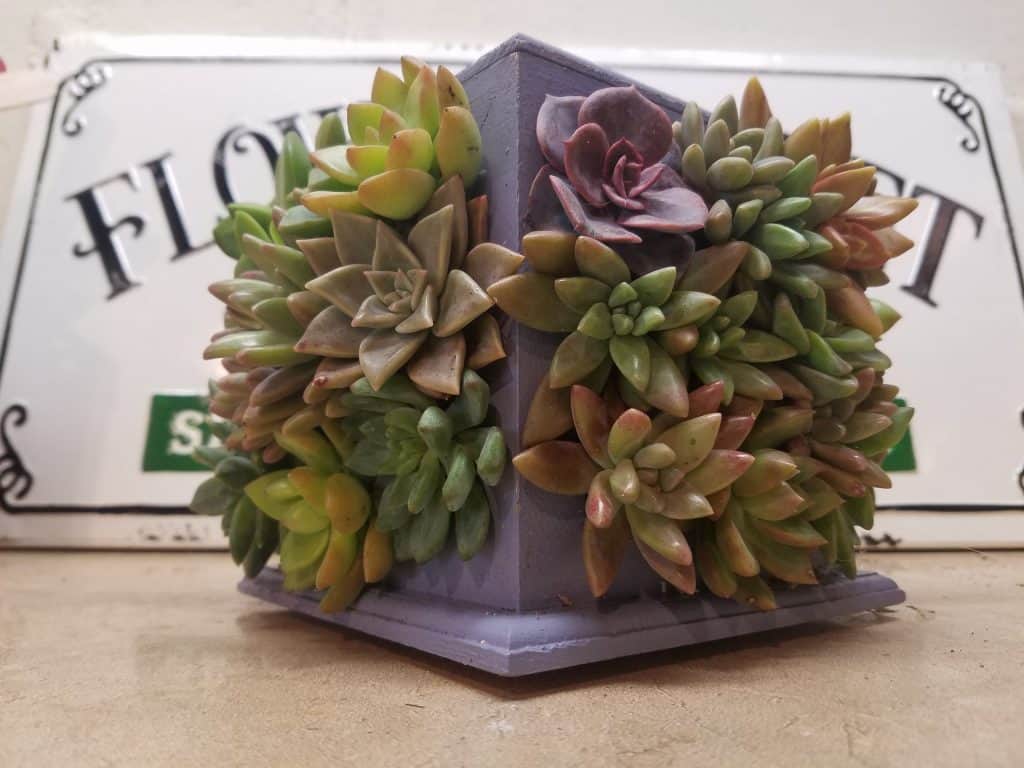
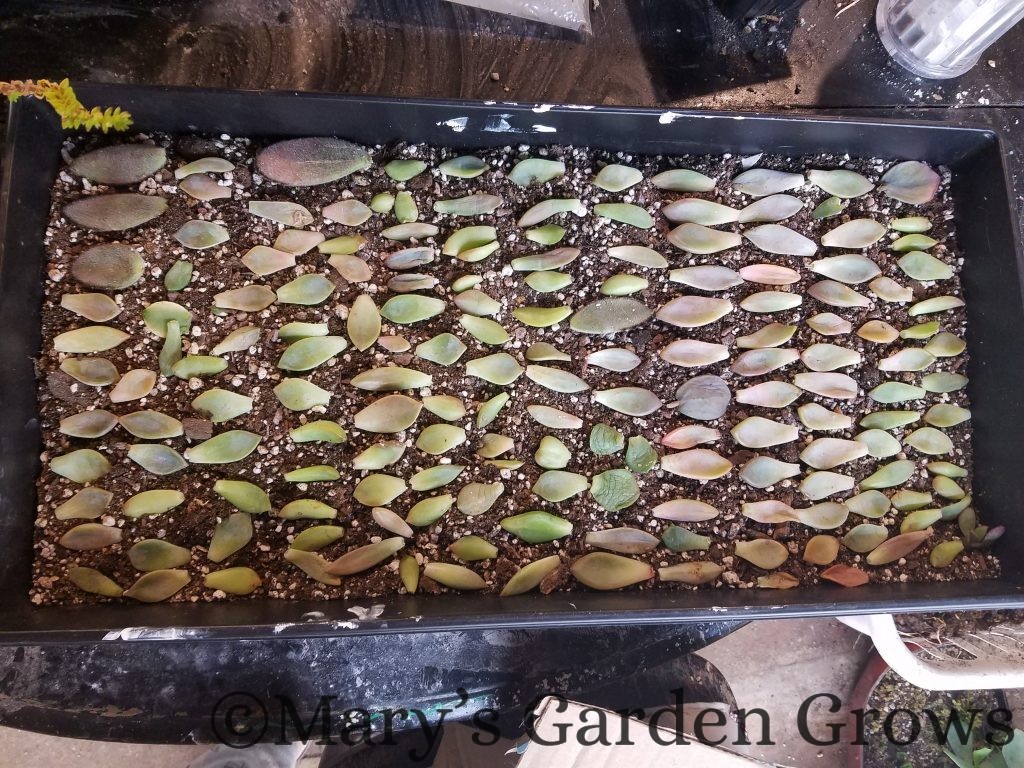
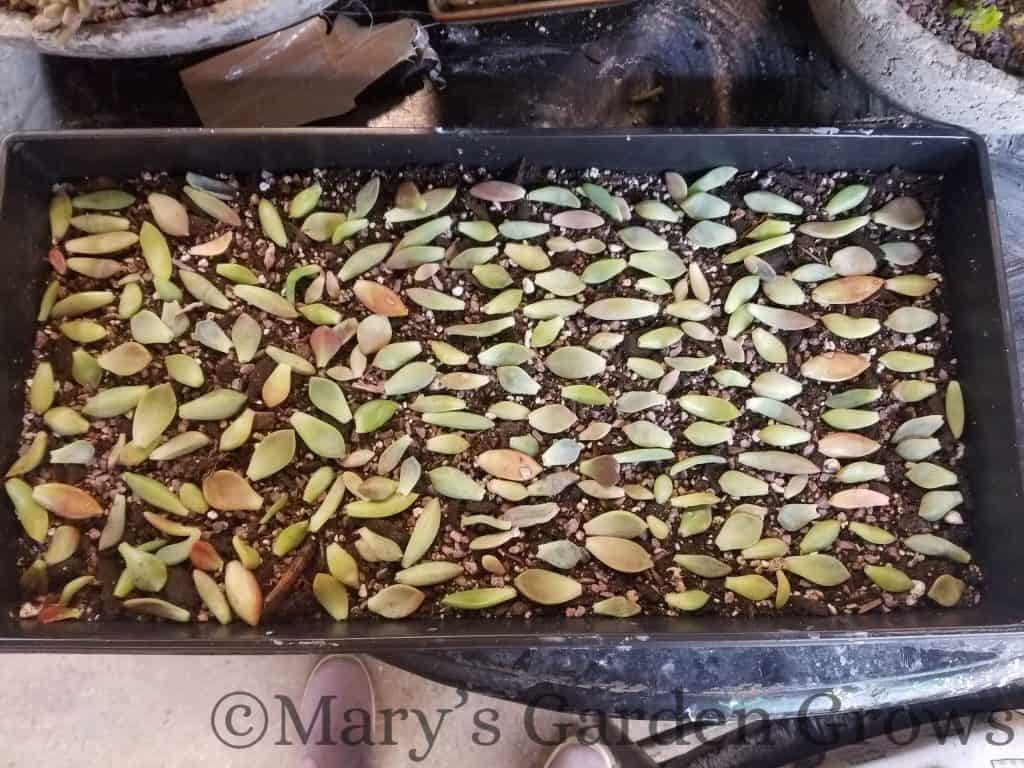
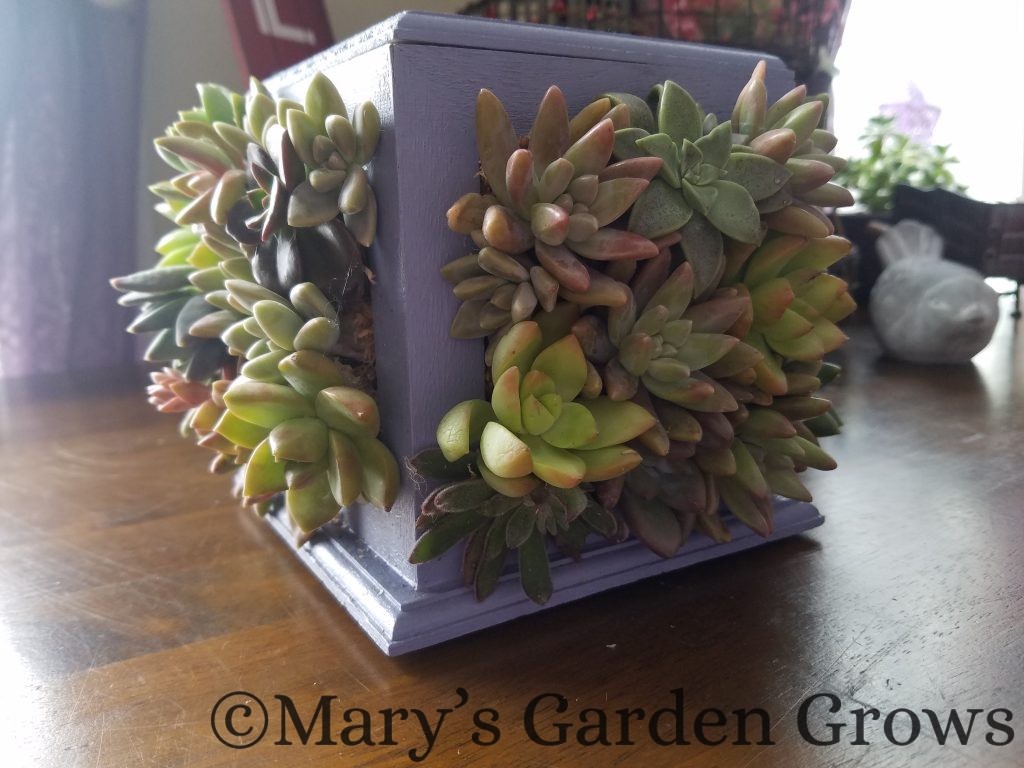
And that was about it. I carefully worked around all 4 sides and used a LOT of succulents but think it is surely worth it. A big bonus is that I ended up with two full trays of leaves to propagate. I’ve been wanting to ‘collect’ some leaves to get new plants started for awhile and this definitely did the trick.
I’ll post some updates on how these all do in the future. Don’t be impatient though…it’s a SLOW process.
And just because I love it so much, here are some more pictures – and a video of it spinning around – of the final product. Can’t wait to bring it to work on Monday!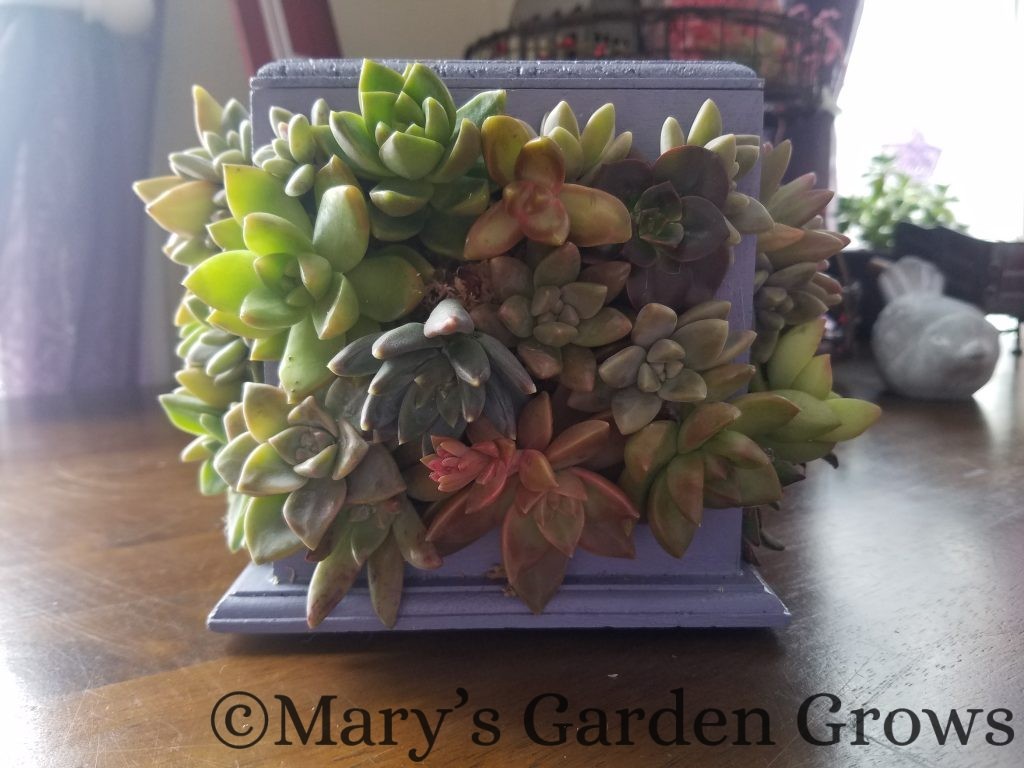
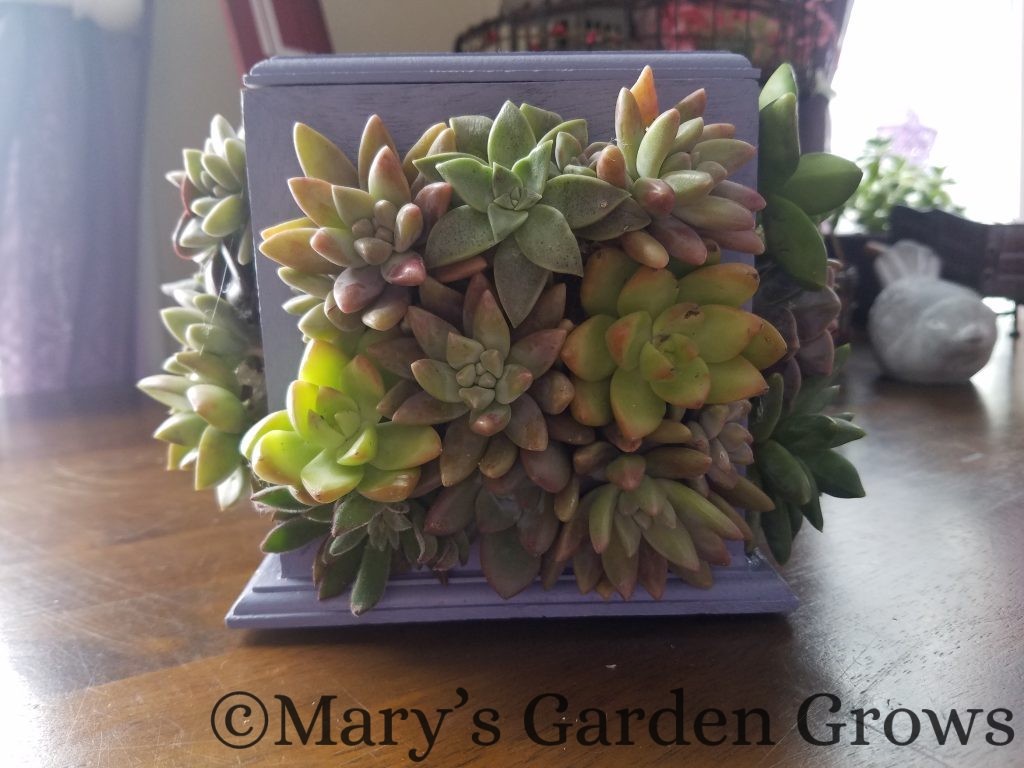
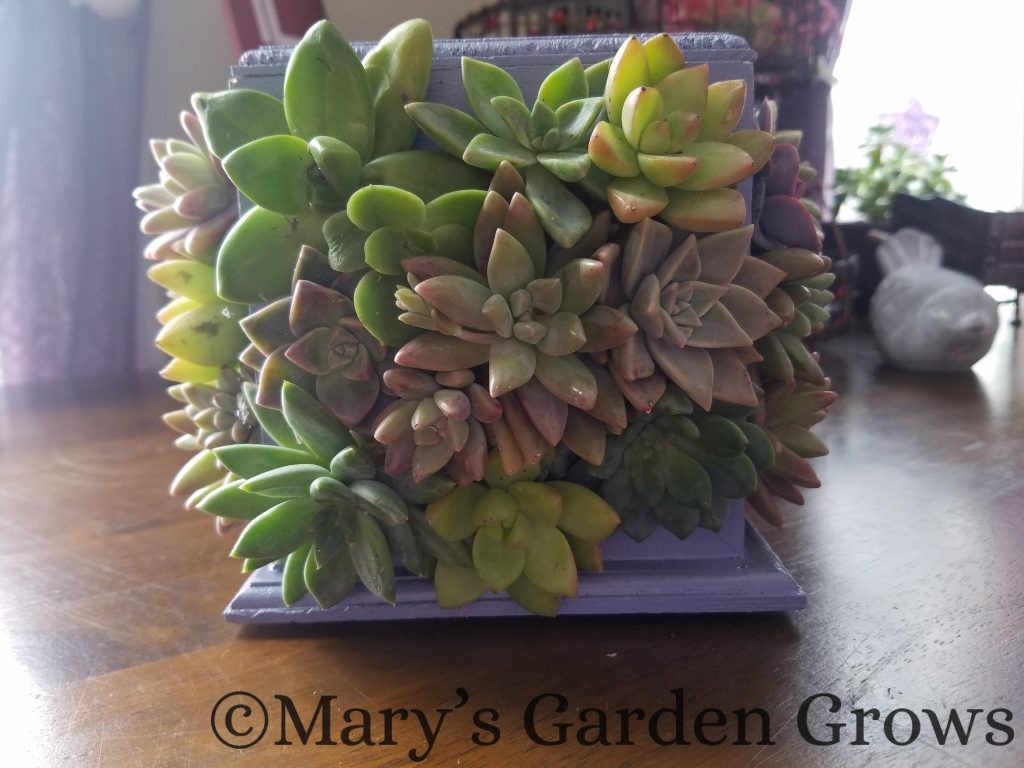
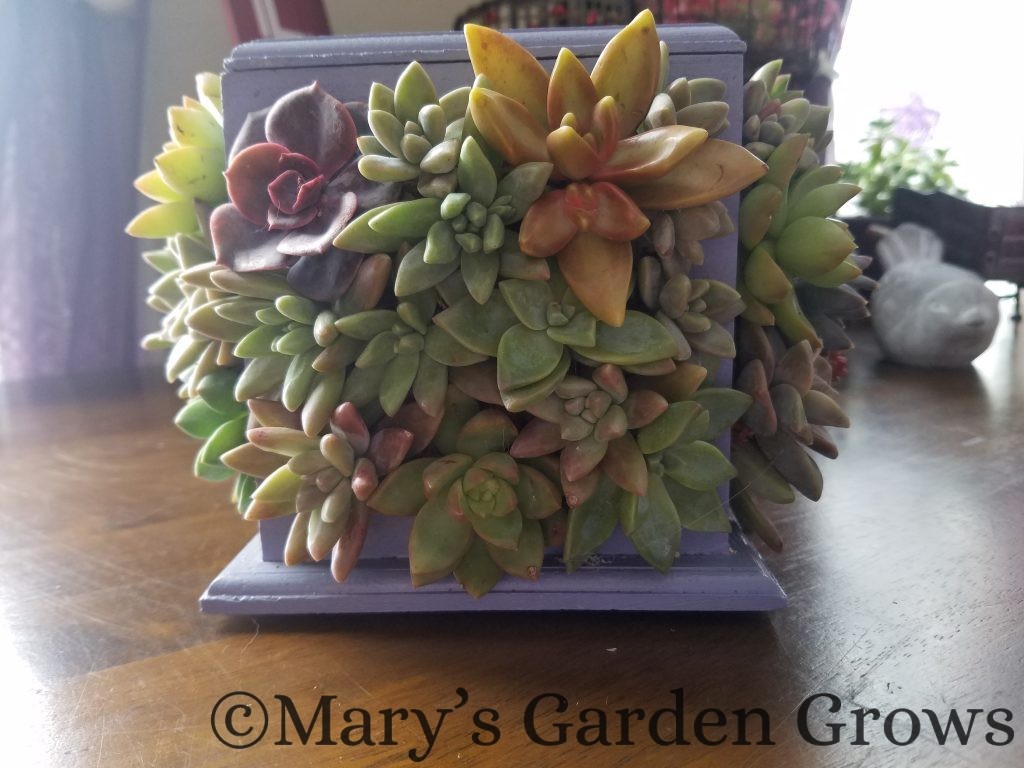
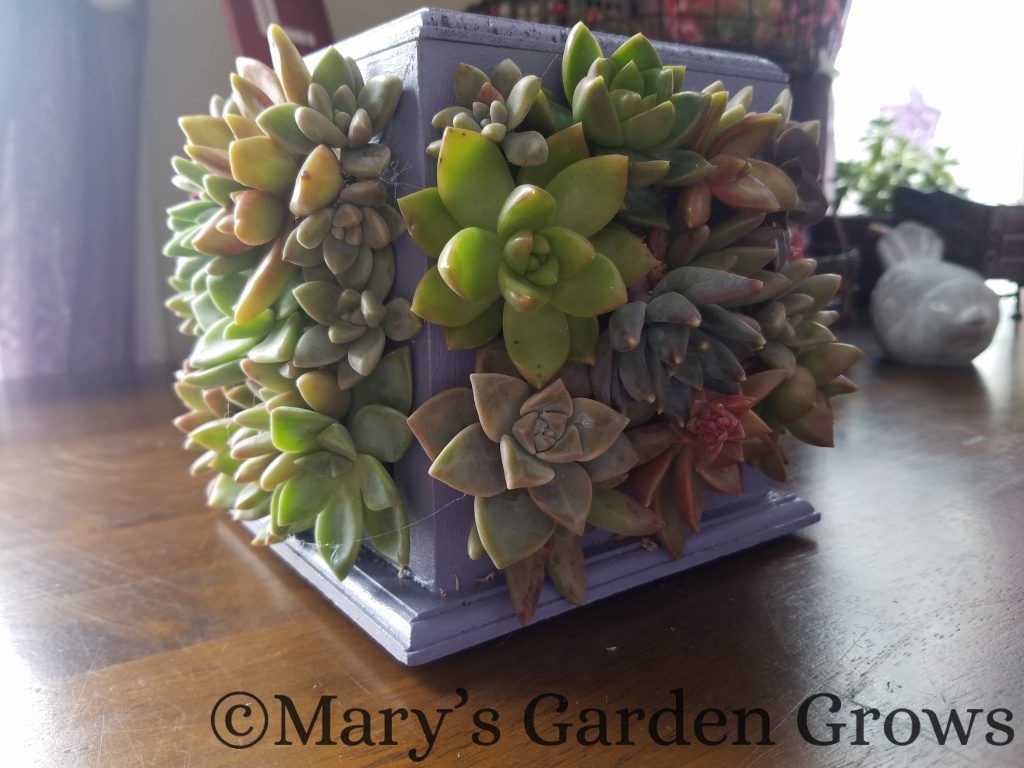
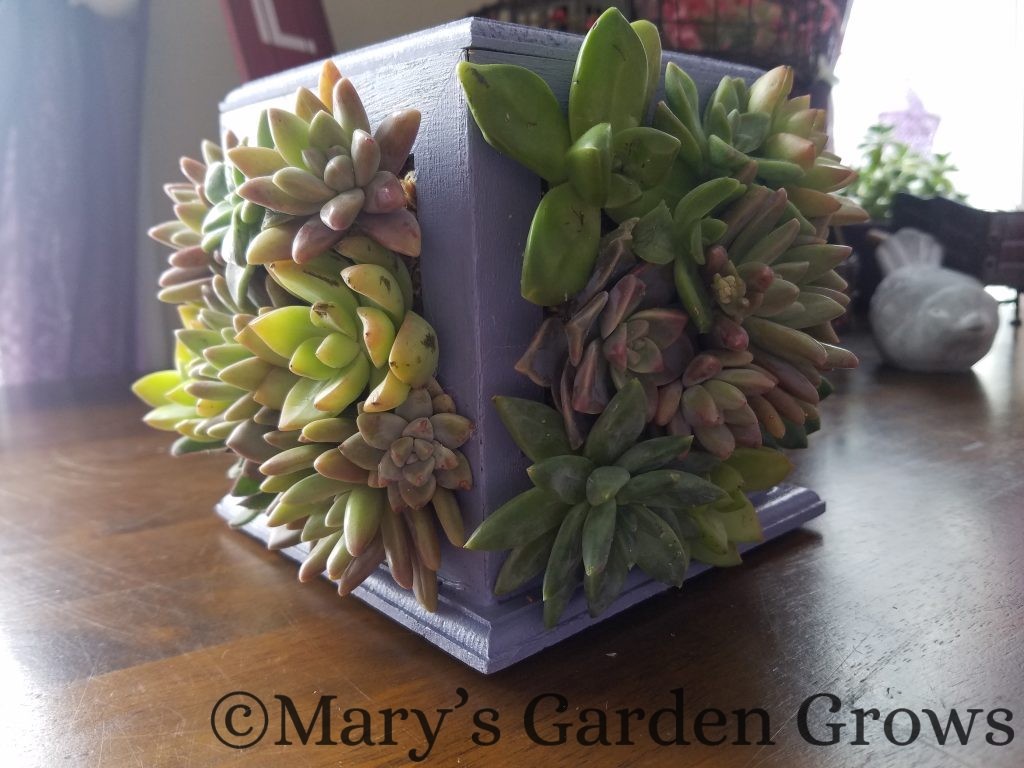
Go ahead and watch the video below…it’s only 5 seconds long!
[fvplayer id=”1″]
Because of all the openings, I couldn’t line it with plastic – I tried – so the wood won’t last forever but plenty long enough to make it worth it. I will water very sparingly with a large syringe and if any of the succulents don’t do well, I’ll just pop them out and glue in another!
I’d love to hear in the comments if you have done anything like this or have any other ideas or tips to share!
Affiliate Disclosure: I am a participant in the Amazon Services LLC Associates Program, an affiliate advertising program designed to provide a means to earn fees by linking to Amazon.com and affiliated sites.